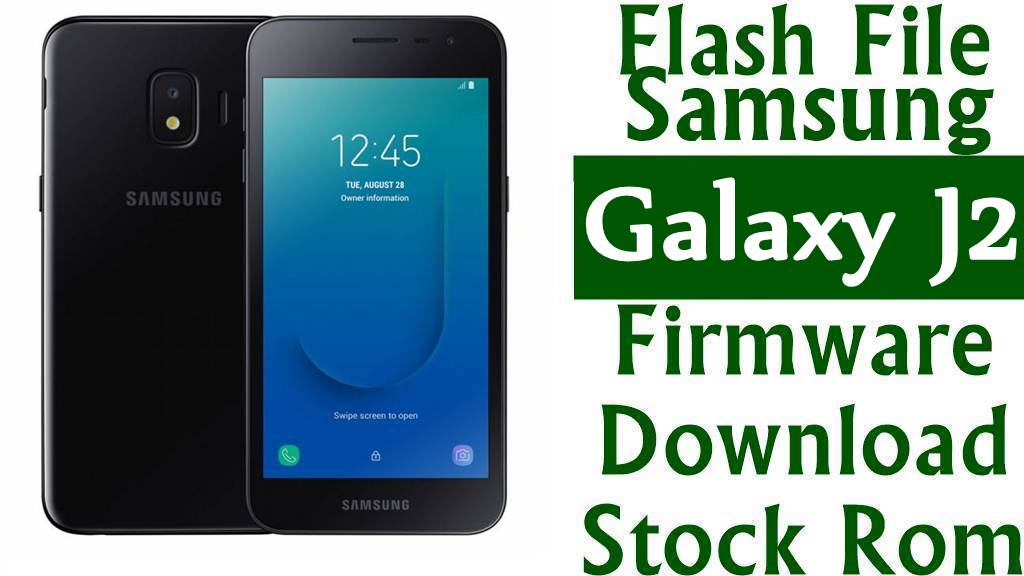
Welcome to today’s guide on how to download Samsung Galaxy J2 SM-J200F Firmware Flash File and how to install the stock ROM to your phone.
This file can help you reset your phone for bootloop, password reset, hanging, and many other problems.
This file is strictly for only Samsung Galaxy J2 SM-J200F.
Downloads by Regions:
☛Get firmware file for other regions not listed above here☚
Step-by-Step Guide to Flashing Samsung Galaxy Firmware Using Odin
Step 1: Download and Install Required Tools
- Install Samsung USB Drivers:
- Download the latest Samsung USB drivers from the official Samsung website or use Samsung Kies to install them automatically.
- Manually install the drivers if Kies doesn’t do it for you.
- Download the Correct Firmware:
- Ensure the firmware matches your device’s model number, region, and Android version. You can find this information in Settings > About Phone.
- Download and Extract Odin:
- Get the latest version of Odin (v3.14.4 or newer) from a reliable source.
- Extract the Odin tool to a folder on your PC.
Step 2: Prepare Your Samsung Galaxy Device
- Enable Developer Options:
- Go to Settings > About Phone > Software Information.
- Tap Build Number 7 times to enable Developer Options.
- Enable OEM Unlocking and USB Debugging:
- Navigate to Settings > Developer Options.
- Enable OEM Unlocking and USB Debugging.
- Power Off Your Device:
- Turn off your Samsung Galaxy smartphone completely.
Step 3: Boot into Download Mode
- Press and hold the Volume Down + Power + Home buttons simultaneously.
- When prompted, press Volume Up to enter Download Mode.
- Connect your phone to your PC using the USB cable.
Step 4: Configure Odin
- Launch Odin by right-clicking Odin.exe and selecting Run as Administrator.
- In Odin, ensure the Options tab has Auto Reboot and F. Reset Time checked. Uncheck Repartition to avoid damaging your device.
- Click the AP button and select the firmware file you extracted earlier (in .tar or .md5 format).
- Wait for Odin to load the firmware. You’ll see a blue indicator in the Log Box once it’s ready.
Step 5: Start Flashing
- Double-check that your device is detected by Odin. You should see a blue box under ID:COM with your device’s port number.
- Click Start to begin the flashing process. Do not disconnect your phone or interrupt the process.
- A progress bar will appear on both your phone and Odin. Wait for the process to complete.
Step 6: Complete the Process
- Once flashing is complete, Odin will display a PASS! message, and your phone will automatically reboot.
- Disconnect your phone from the PC and set it up as a new device.
Troubleshooting Common Issues
- Odin Not Detecting Your Phone:
- Reinstall Samsung USB drivers.
- Try a different USB port or cable.
- Ensure your phone is in Download Mode.
- Stuck on “SetupConnection”:
- Restart both your phone and PC.
- Use a different version of Odin.
- Boot Loop After Flashing:
- Perform a factory reset in Recovery Mode (Volume Up + Power + Home).


